- Hiding Fields on the Checkout Page
- Installing WooCommerce
- Using WooCommerce
- Adding Products in WooCommerce
- Using Your Theme's Header & Footer in a Step
- Embedding a Checkout Form on the CartFlows Checkout Page
- Hiding WooCommerce Pages and Products
- Using Pricing Tables
- Adding an Affiliate Program
- Setting a Funnel as the Homepage
- GDPR Compliance
- Excluding CartFlows Pages from Caching
- Creating Variable Products
- Placing Shortcode in the Right Places
- Displaying a Terms and Conditions Checkbox
- Creating a Marketing Sales Funnel
- How to Enable Facebook Pixel Support in Cartflows?
- Enabling Fusion Page Builder on CartFlows Steps
- Passing Variables as Query Parameters to a URL
- Highlighting a Product on the CartFlows Checkout Page
- Styling the Highlight Product Section
- Collecting User Contact Data and Redirecting to the Checkout Page
- Setting a Default Product in Product Options
- Dynamic Offers aka Rule Engine
- Instant Layout for Checkout and Thank You Step
- Adding Products from the URL to the Checkout Page
- Setting Up A/B Testing for Steps
- Deleting Plugin Data During Uninstallation
- Importing Ready-Made Templates for Funnels and Steps
- Importing and Exporting Funnels and Step
- URL Parameters
- Replacing the Main Checkout Order with an Upsell or Downsell
- Rolling back to a Previous Version
- Google Address Autocomplete
- Flatsome UX Builder
- ActiveCampaign
- Paypal Reference Transactions
- How PaypPal/Stripe Works
- Enabling Enfold Avia Layout Builder
- Setting Up Authorize.net for Upsell & Downsell
- Supported Payment Gateways
- Setting Quantity and Discount for Products on the Checkout Page
- Adding Custom Payment Gateway Support for One-Click Upsell and Downsell
- Funnel in Test Mode
- Troubleshooting Plugin and Theme Conflicts
- Resolving the "Please Select a Simple, Virtual, and Free Product" Error
- Fixing Endless Loading on the Checkout Page
- Fixing the "We can't seem to find an order for you." Error on the Thank You Page
- Troubleshooting License Activation Issues
- Fixing the "Checkout ID Not Found" Error
- Fixing the "Session Expired" Error Message
- Resolving "Order Does Not Exist" Error on Upsell/Downsell Page
- Fixing the "Sorry, This Product Cannot Be Purchased" Error
- Disabling Auto-fill of Address Fields Based on Zip Code
- Enabling Theme's Scripts & Styles Without Changing Page Template
- Disabling Auto-fill of Checkout Fields
- Allowing Cache Plugins to Cache CartFlows Pages
- Changing the "Choose a Variation" Text
- VAT Field Not Displaying for WooCommerce EU/UK VAT Compliance Plugin
- Enabling the Product Tab on Store Checkout
- Displaying the Order Summary Open on Mobile Devices
- Refreshing the Checkout Page After CartFlows AJAX Calls
- Overview
- Installing Modern Cart Starter
- Installing Modern Cart Pro
- Activating License Key
- Customizing General Settings
- Customizing Cart Tray Labels
- Customizing Cart Icon Settings
- Customizing Cart Tray Styling
- Understanding the Product Recommendations Feature
- Controlling Product Recommendation Source for Empty Cart
Using Pricing Tables
CartFlows works seamlessly with any pricing table you wish to use, making it easy to direct customers to different funnels based on their selected pricing option.
By linking each pricing table option to its own unique funnel, you can customize the entire purchase journey, from checkout to upsells and thank you pages, based on the pricing plan selected.
How to Set Up Funnels for Pricing Tables
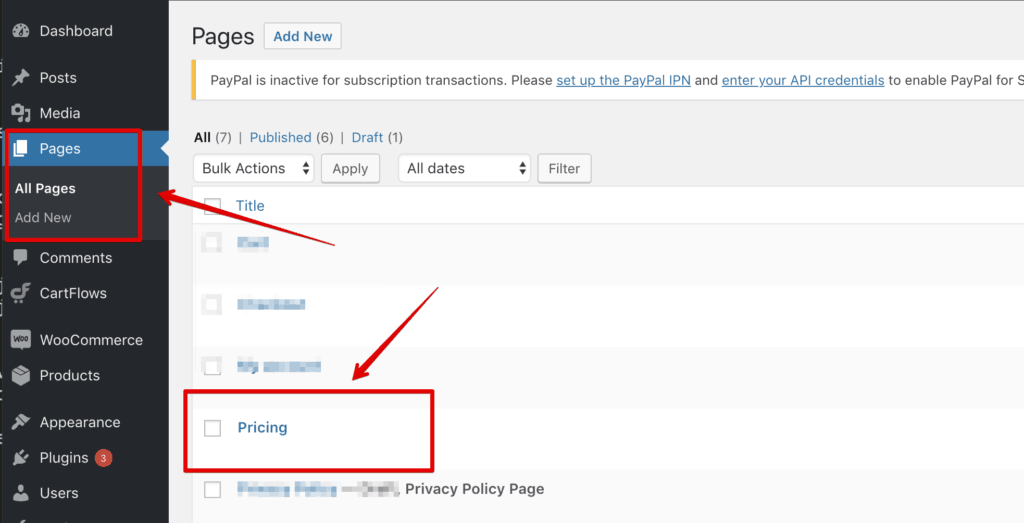
Step 1: Create a Pricing Page
Start by creating a standard WordPress page where you will add your pricing table. You can use any page builder to design this.

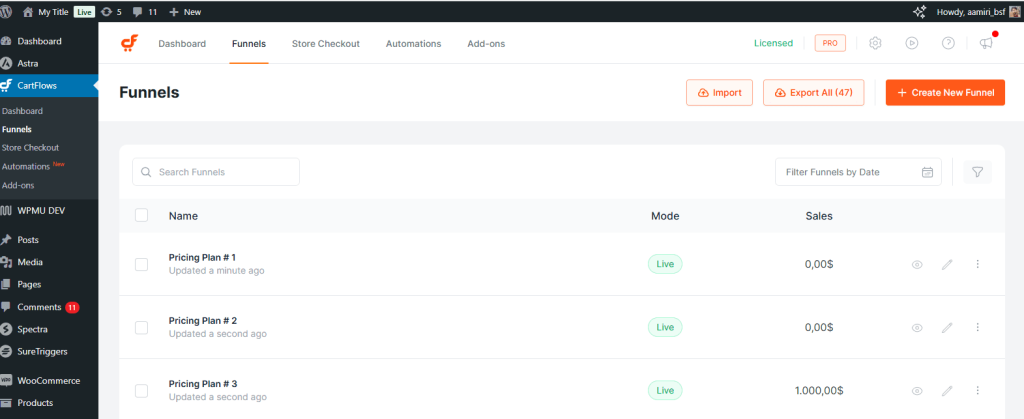
Step 2: Build the First Funnel
Create a new funnel in CartFlows for your first pricing option. Set the first step as the Checkout page and add any additional steps you’d like, such as Order Bumps, Upsells, Downsells, and the Thank You page.
Step 3: Assign the Product
In the checkout step, assign the product that corresponds to this specific pricing plan.
Step 4: Clone the Funnel
Use the Clone feature to duplicate the funnel for each additional pricing option. This saves time and ensures a consistent structure across all plans.

Step 5: Update the Product
In each cloned funnel, update the checkout step with the product linked to the respective pricing plan.
Step 6: Link Buttons to Funnels
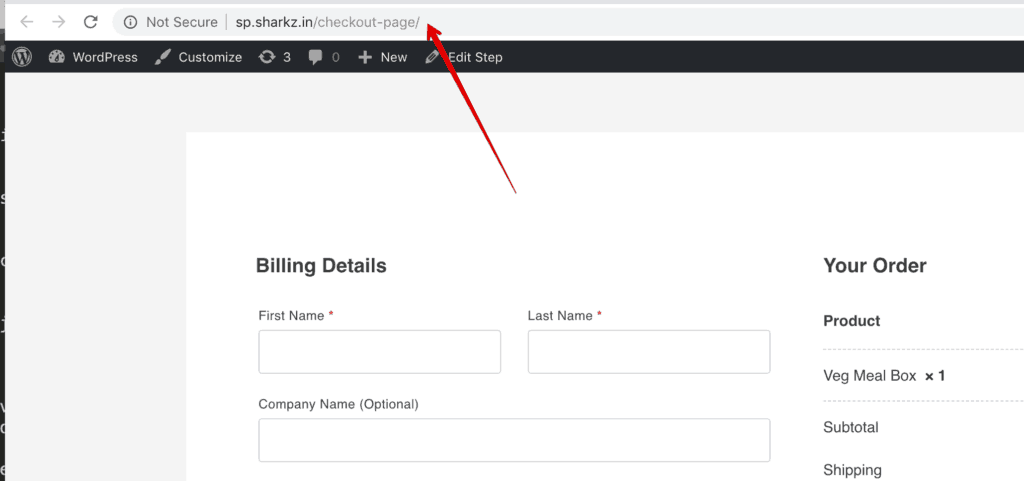
Copy the checkout step URL from each funnel and link it to the corresponding button in your pricing table.

With this setup, customers clicking on a pricing option will be directed to the tailored checkout experience for that plan, helping you deliver a more personalized and high-converting funnel.
We don't respond to the article feedback, we use it to improve our support content.