



Smart Vacuum Cleaner Funnel Template
Pro
What's included — 4 connected steps
- 1
 Landing PageFirst impression & offer
 - 2
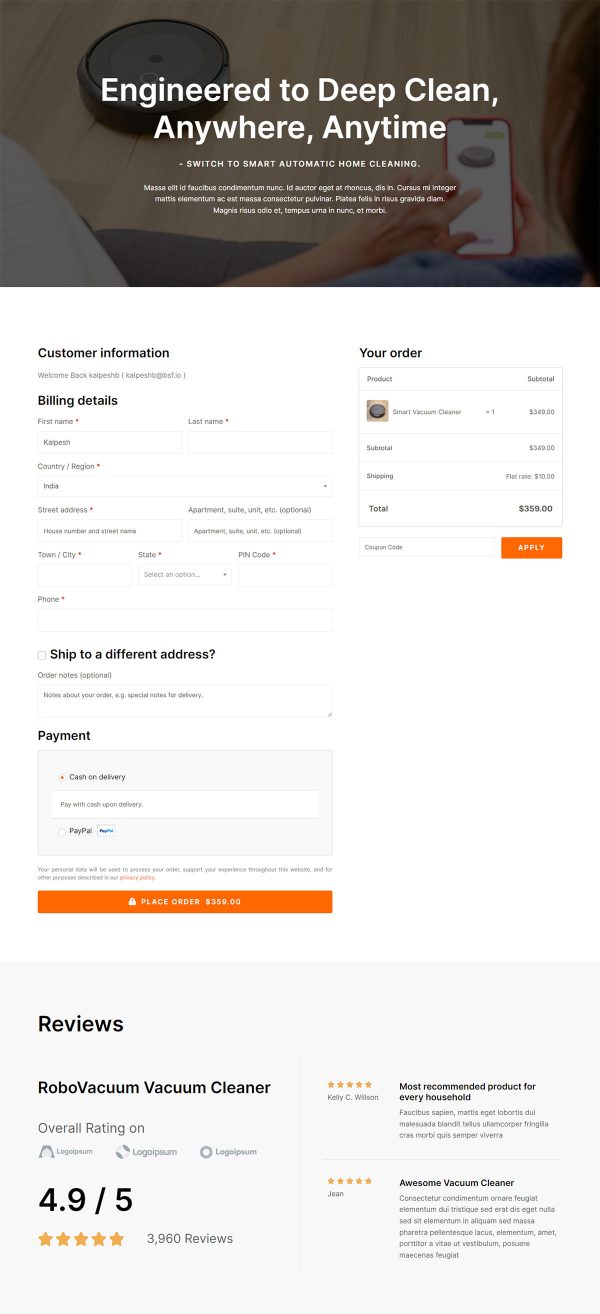 CheckoutOne-page order form
 - 3
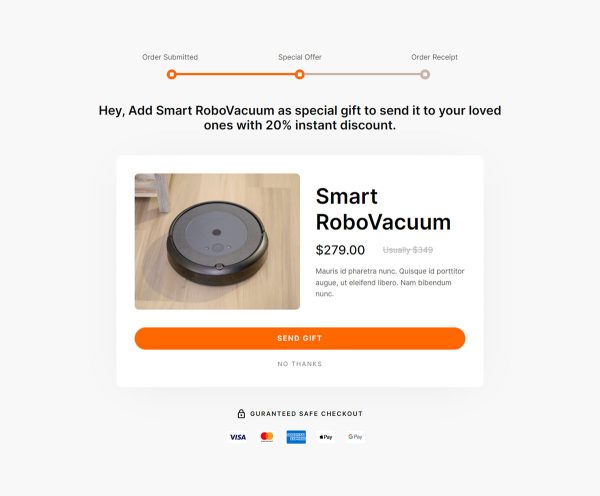 UpsellOne-click add-on offer
 - 4
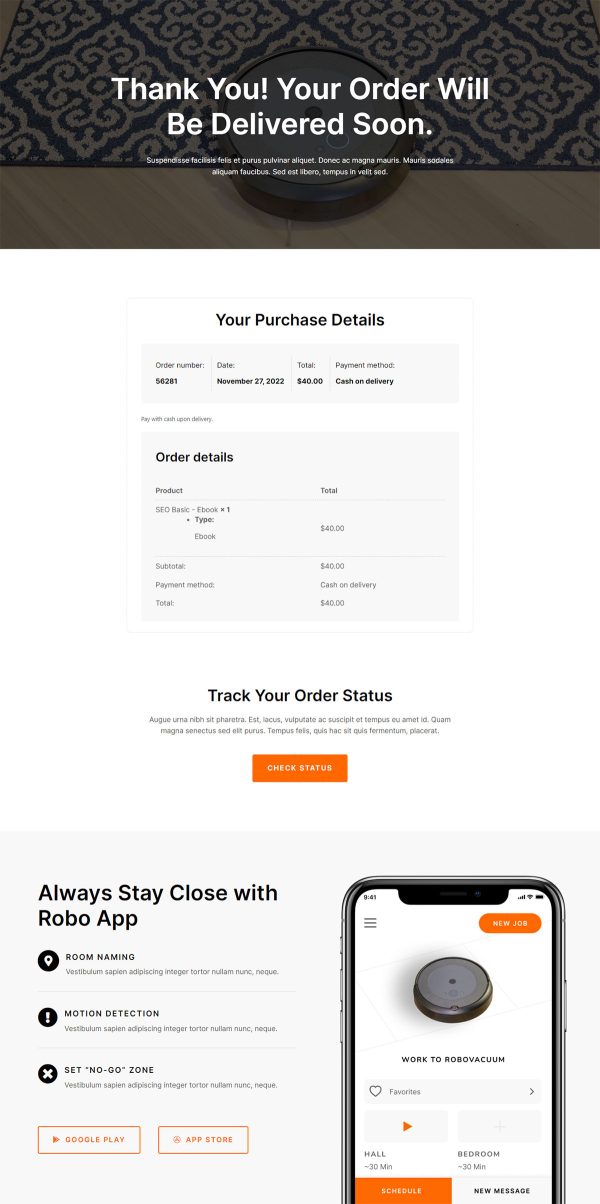 Thank YouConfirmation & next step
About this funnel
This smart vacuum cleaner sales funnel template spans four pages for one device: a product page, a checkout, a one click upsell, and a thank you page. Each page is finished and joined up, so you insert your unit, photos and prices rather than starting fresh.
The pages are shaped for a feature heavy device that has to be shown.
Who it’s for
- Smart home and consumer electronics sellers with a feature-dense product
- Devices with an app, several operating modes, or accessories to sell
- Direct-to-consumer brands launching one flagship instead of a near-identical catalog
The mode comparison shows what changes across three cleaning modes, tank and dust box capacity included. The specification table runs a dozen rows, from running time and suction to Wi-Fi band and noise.
Secure payments, the 30 day return window, and the two year warranty sit near the top. An app section covers setup.
Showing the difference between modes answers the question a buyer actually has. Guarantees near the top get read; in the footer they get skipped.
Setup doubt is what stalls a smart device purchase, so the app section handles it early. Most of what passes for a vacuum cleaner landing page template describes instead of shows.
Checkout can carry an extended warranty as an order bump, ticked in a second. The upsell runs after payment and is built for consumables: replacement brushes and filters sell easily to someone whose new machine has not arrived yet. The thank you page confirms the order.
Every spec row, feature block, and app capability is editable, so the template can carry a different device. Dropping in a section, cutting one, or changing its styling costs about a click in the builder.
How to Use This Funnel
- Install the free CartFlows plugin from the WordPress plugin directory.
- Go to CartFlows → Funnels and click Add New Funnel.
- Search the library for this funnel, then hover it and choose View All Steps.
- Click Import This Funnel and give it a name.
- Wait for the import to finish, then edit each step in your page builder.
- Assign your WooCommerce product on the checkout step and you are ready to sell.