



Project Manager Software Funnel Template
What's included — 3 connected steps
- 1
 Landing PageFirst impression & offer
 - 2
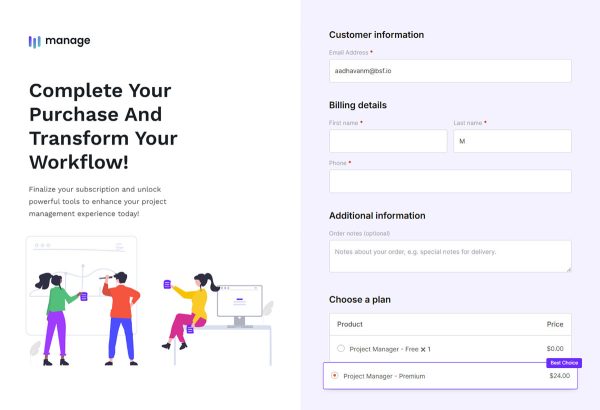 CheckoutOne-page order form
 - 3
 Thank YouConfirmation & next step
About this funnel
This project manager software funnel template is a three step launch flow: sales page, checkout, thank you step. Everything arrive finished and pointed at each other, so you load in app screenshots and prices instead of laying out sections.
These pages are shaped for a finished app that never got a marketing site.
Who it’s for
- Independent developers shipping a first paid version
- Bootstrapped teams launching a beta with paid plans
- Freelancers packaging an internal tool as a product
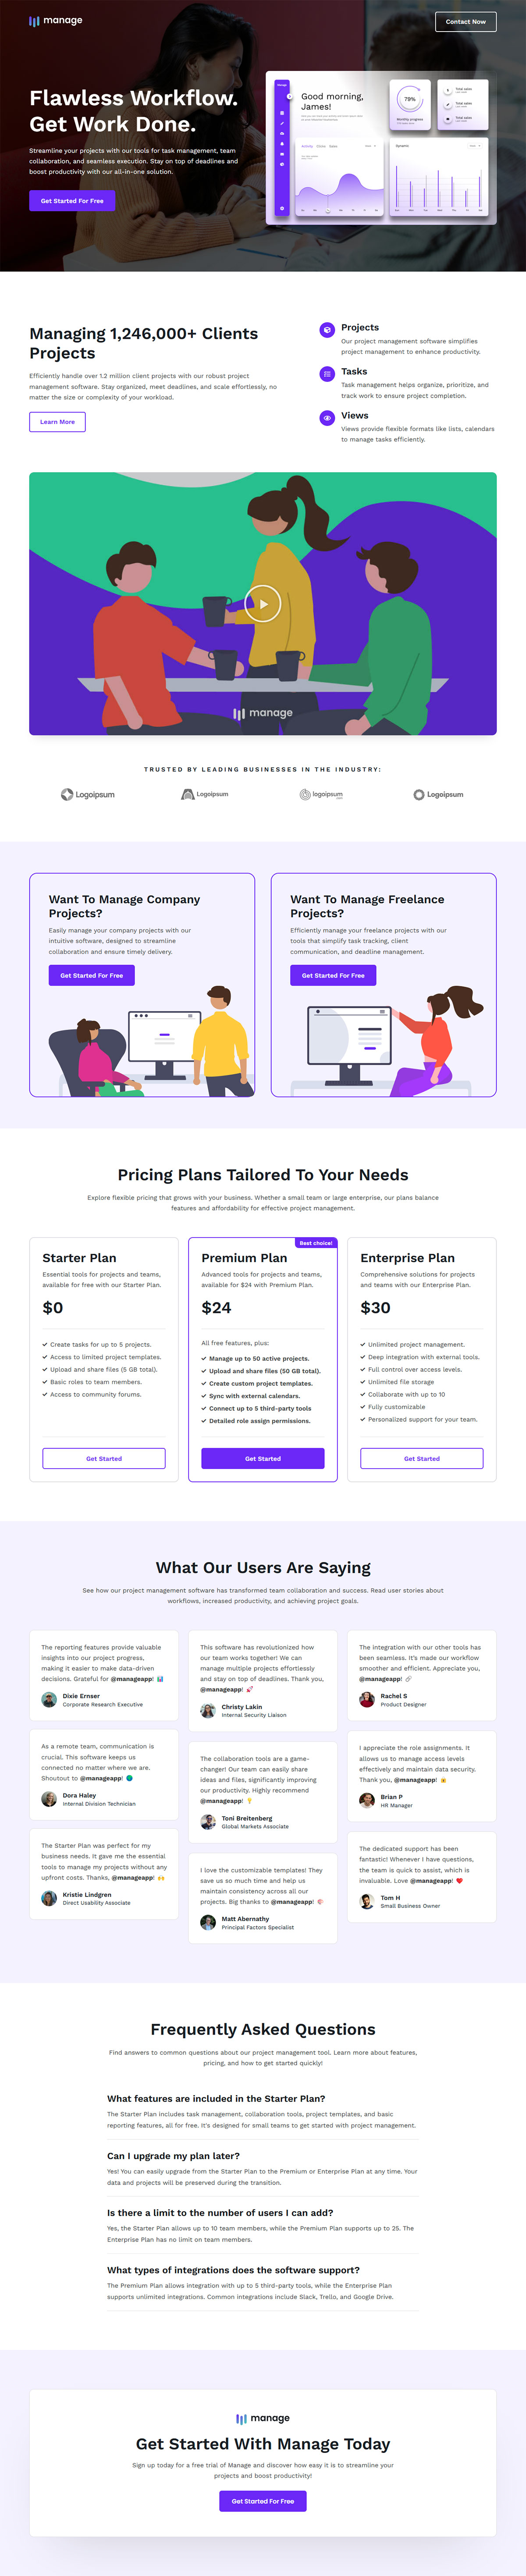
The hero pairs a workflow promise with a dashboard screenshot and a start button. Three columns explain the core objects: projects, tasks and views.
Two use-case sections then separate company projects from freelance work. Pricing shows three plans side by side, and the option that costs nothing stays inside the same table.
Holding the no-cost option in that table keeps low-intent visitors reading instead of sending them hunting. A stat block, a logo row, named testimonials and an FAQ accordion fill the rest of the scroll.
Splitting the use cases lets one project management software landing page speak to two buyers without diluting either.
The plan a visitor picks travels into checkout, so the price on the button matches the price on the form. The last step hands over login credentials, which is exactly when a new user expects the workspace to open.
Connect each paid plan to its WooCommerce product, and checkout will accept Stripe, PayPal or whichever gateway you already run.
Screenshots, plan names, prices and the use-case blocks are ordinary edits, so delete a block if you serve one audience. In the builder, adding, removing or restyling a section is roughly a single click.
How to Use This Funnel
- Install the free CartFlows plugin from the WordPress plugin directory.
- Go to CartFlows → Funnels and click Add New Funnel.
- Search the library for this funnel, then hover it and choose View All Steps.
- Click Import This Funnel and give it a name.
- Wait for the import to finish, then edit each step in your page builder.
- Assign your WooCommerce product on the checkout step and you are ready to sell.