



SaaS Software Funnel Template
Pro
What's included — 3 connected steps
- 1
 Landing PageFirst impression & offer
 - 2
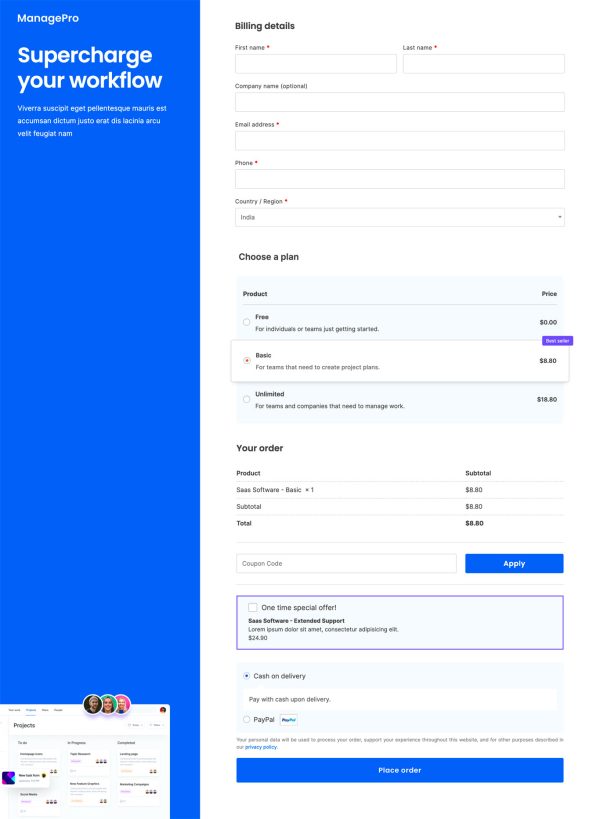 CheckoutOne-page order form
 - 3
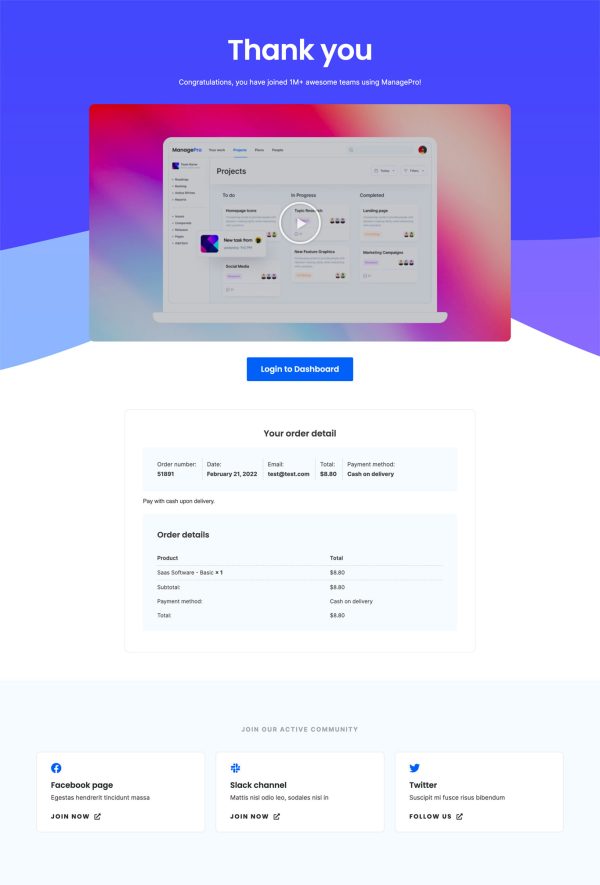 Thank YouConfirmation & next step
About this funnel
This SaaS sales funnel template runs three steps: a product-led sales page, a checkout, and a thank you page. All three install as one connected set, so you swap in your plans and screenshots instead of designing pages. The flow is shaped for a self-serve buyer who never books a demo.
Who it’s for
- Founders launching a first paid tier and selling self-serve
- Products with several plans that need side-by-side pricing on the page
- Teams whose buyers want to compare and decide without booking a demo call
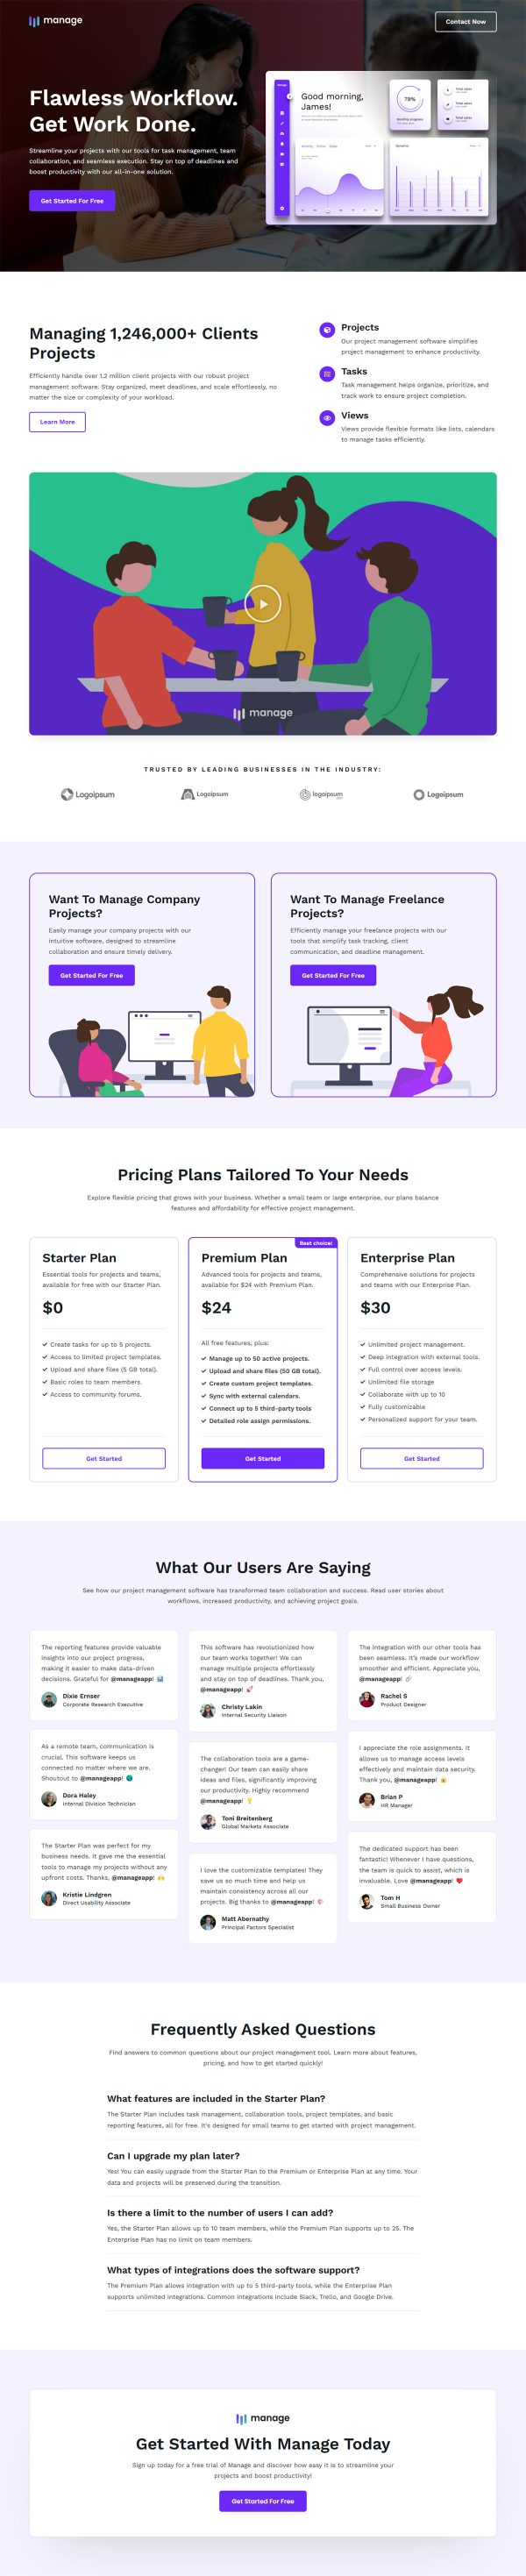
The sales page opens with two paths, a start button and a watch video link, so evaluators pick their own depth. Pricing sits on the page itself: Free, Basic flagged as the best seller, and Unlimited.
Comparison shoppers read the numbers without leaving to hunt for them. Use case cards then address freelancers, agencies and enterprise buyers one at a time.
Six short quotes read like a social feed, and an eight question FAQ absorbs billing and refund doubts. Read on its own, that first page works as a SaaS landing page template.
Clicking any plan carries the choice into the next step, which is why the prices appear before the form.
Checkout collects payment with the selected plan already attached, so a visitor who picked Basic never picks it twice. The thank you page is where login details and onboarding instructions belong, because that minute is the start of the subscription.
Map each plan button to its WooCommerce product, then take payment through Stripe, PayPal or any gateway you already run.
The demo ships as a fictional brand called ManagePro. Its FAQ answers are placeholder text, so write those yourself. A block can be introduced, dropped or restyled with a single click.
How to Use This Funnel
- Install the free CartFlows plugin from the WordPress plugin directory.
- Go to CartFlows → Funnels and click Add New Funnel.
- Search the library for this funnel, then hover it and choose View All Steps.
- Click Import This Funnel and give it a name.
- Wait for the import to finish, then edit each step in your page builder.
- Assign your WooCommerce product on the checkout step and you are ready to sell.