




Webinar Funnel Template

What's included — 2 connected steps
- 1
 Opt-inCapture the lead first
 - 2
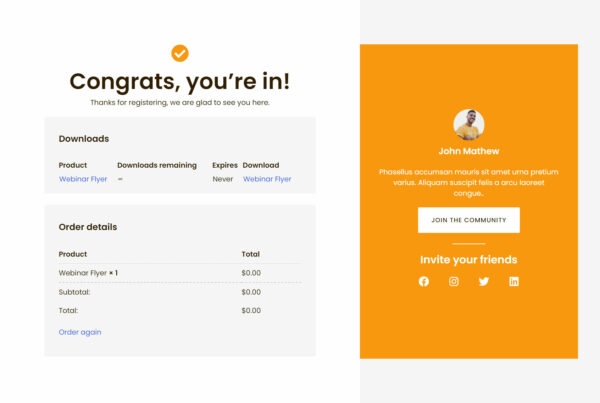 Thank YouConfirmation & next step
About this funnel
This webinar registration page template fills seats in two steps: a registration page and a confirmation page. Both pages arrive whole, one step feeding the next already, so you add your session, copy and details instead of designing a form.
Registration is free, so the pair is shaped to win attention rather than a payment.
Who it’s for
- Consultants and trainers running a free session to fill a pipeline
- Course creators using a live class as the pitch
- Agencies hosting a topic session for one specific industry
A scarcity bar about limited seats runs above the headline. The form asks for three fields, two names and an email.
Date and start time appear as their own page elements, not a line buried in copy. Three topics come first, then the host block, then two attendee quotes and a partners row of five logo slots.
Three fields is the main reason this form beats a contact form pretending to be a signup. The scarcity bar gives a no cost offer the deadline it otherwise lacks.
Date and time as elements make the commitment clear before the click. Topics ahead of the host match the order attendees care about: what they will learn, then who is teaching. Every element of this webinar funnel template points at one action.
The registration page has one job, so an ad visitor either signs up or leaves. The confirmation page connects your webinar platform: join link, calendar add and reminder instructions.
The form arrives labeled billing details, so rename it and remove any field you do not need.
Swap the host photo and credentials, replace the topics with your agenda, and set your date and time. Adding an element, cutting one or restyling the page runs to about a click.
How to Use This Funnel
- Install the free CartFlows plugin from the WordPress plugin directory.
- Go to CartFlows → Funnels and click Add New Funnel.
- Search the library for this funnel, then hover it and choose View All Steps.
- Click Import This Funnel and give it a name.
- Wait for the import to finish, then edit each step in your page builder.
- Assign your WooCommerce product on the checkout step and you are ready to sell.